
Quick Answer
For successful rattlesnake plant care, place the plant in bright, indirect light and keep its soil evenly moist without leaving the roots waterlogged. Use filtered, distilled, or rainwater when possible. Maintain warm temperatures between 65°F and 80°F (18°C to 27°C), provide at least 50 percent humidity, and protect the plant from direct sun, drafts, and sudden temperature changes.
Meet the Rattlesnake Plant
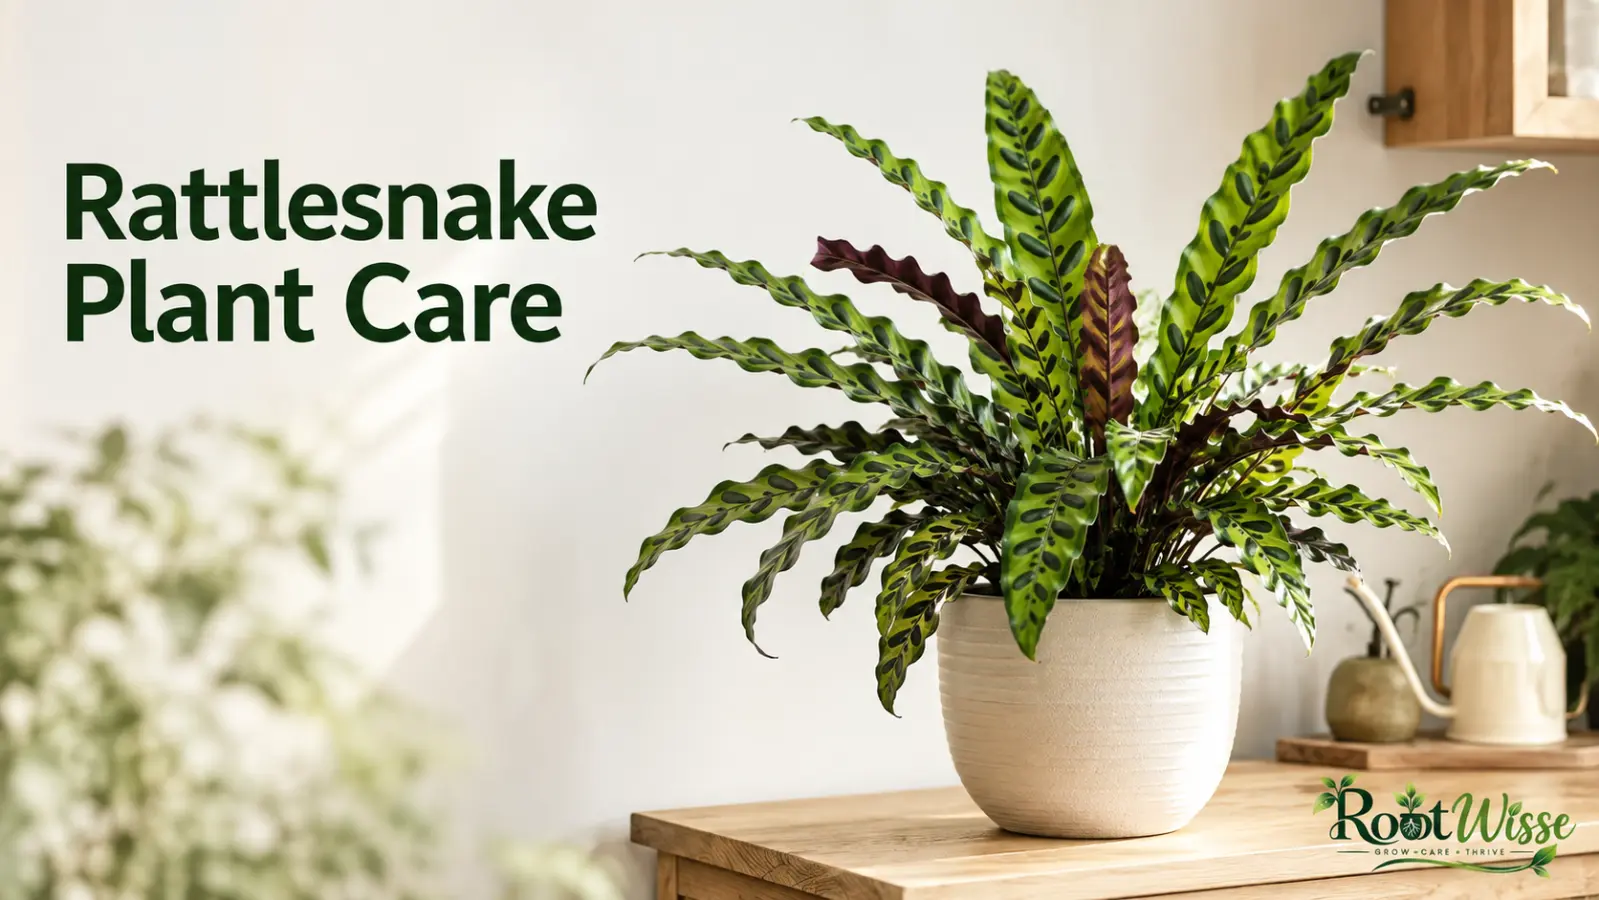
The rattlesnake plant is loved for its long, wavy leaves marked with dark green spots and deep purple undersides. Its current botanical name is Goeppertia insignis, although it is still widely sold as Calathea lancifolia. It belongs to the prayer plant family, Marantaceae.
Like other prayer plants, its leaves may rise or fold slightly at night and lower again during the day. This natural movement is known as nyctinasty and should not be mistaken for wilting.
Although the plant has a reputation for being demanding, good Calathea rattlesnake plant care is mostly about consistency. It reacts poorly to dry soil, excessive moisture, harsh sunlight, mineral-heavy water, and rapid environmental changes. Once these factors are controlled, it can be a dependable indoor plant.
Rattlesnake Plant Care at a Glance
| Care factor | Recommended conditions |
| Light | Bright, indirect or filtered light |
| Water | When the top 1 inch of soil begins to feel dry |
| Humidity | At least 50 percent, preferably 60 percent or higher |
| Temperature | 65°F to 80°F (18°C to 27°C) |
| Soil | Moisture-retentive but well-draining potting mix |
| Fertilizer | Half-strength balanced fertilizer every 4 to 6 weeks in active growth |
| Repotting | Every 1 to 2 years or when root-bound |
| Propagation | Root division |
| Common problems | Brown tips, curling leaves, yellow leaves, spider mites |
| Mature indoor size | Commonly 18 to 30 inches tall |
Image Suggestion: A labeled rattlesnake plant care infographic showing ideal light, water, humidity, temperature, and soil conditions.
Give It Bright, Indirect Light
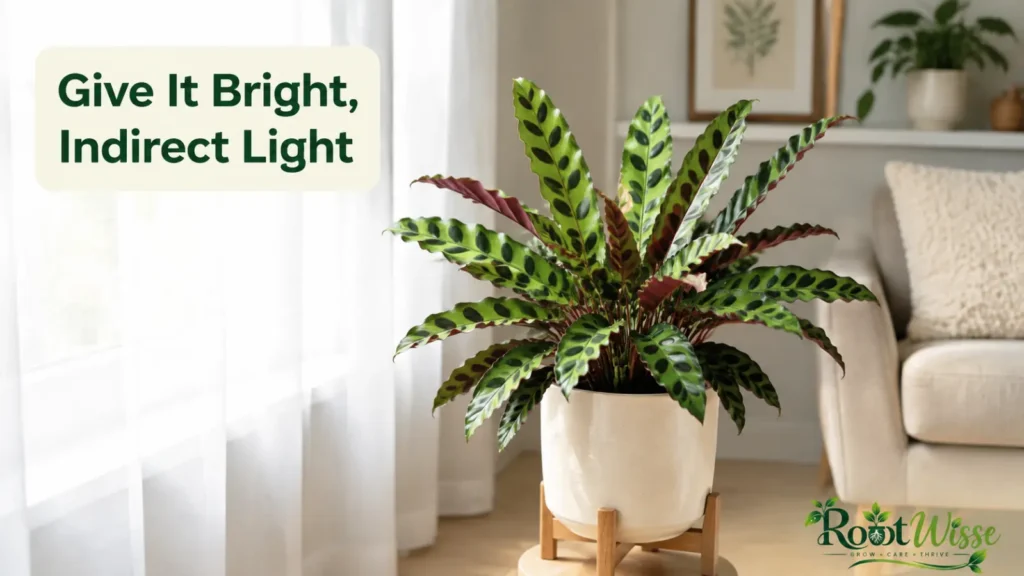
Rattlesnake plant light requirements are often misunderstood. The plant can tolerate moderate light, but that does not mean it grows best in a dark corner. Too little light can produce slow growth, smaller leaves, and less distinct patterns.
A position near an east-facing window is often ideal. A north-facing window can also work if the room remains bright. Near a south- or west-facing window, move the plant several feet back or use a sheer curtain to filter strong sunlight.
Direct afternoon sun can bleach the markings and create dry, pale, or scorched patches. Once a leaf is burned, its damaged tissue will not recover.
Observe the plant at different times of day before choosing its position. A location that looks shaded in the morning may receive several hours of direct afternoon sun.
If natural light is limited, use a full-spectrum grow light for approximately 10 to 12 hours a day. Keep enough distance between the light and foliage to prevent heat damage.
Water According to the Soil, Not the Calendar
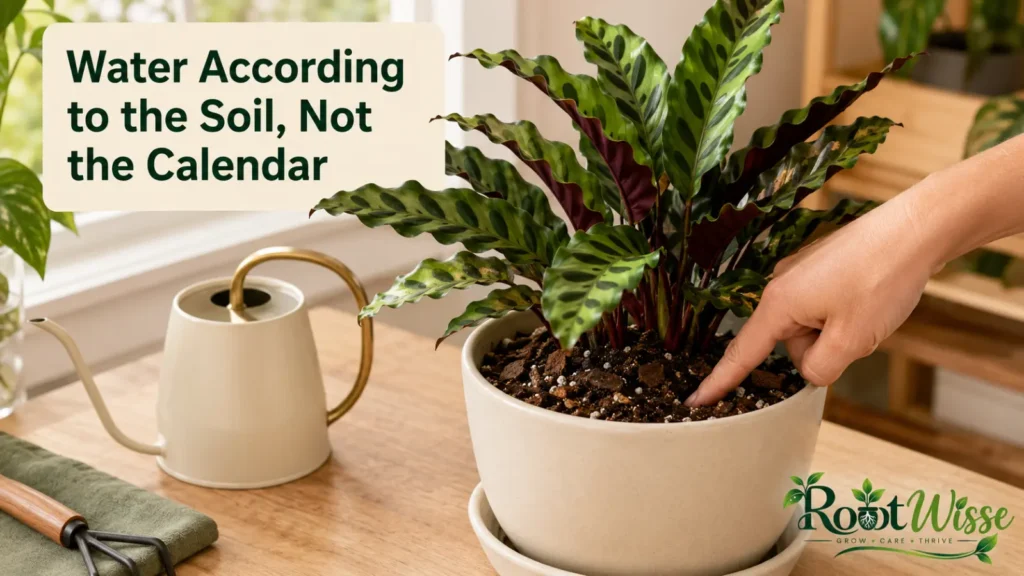
Proper rattlesnake plant watering is the most important part of its care. The soil should remain lightly and evenly moist, but the roots must still receive oxygen.
Check the top inch of soil with your finger. If it feels slightly dry, water thoroughly until excess water flows through the drainage holes. Empty the saucer or decorative cover pot afterward.
Do not automatically water every seven days. The plant may need water sooner in warm, bright weather and less frequently during winter. Pot size, soil composition, humidity, airflow, and light all influence how quickly the soil dries.
Choosing the Right Water
Rattlesnake plants can be sensitive to mineral and salt accumulation. If you continually see brown tips despite correct watering and humidity, your tap water may be contributing to the problem.
Try using:
- Collected rainwater
- Distilled water
- Reverse-osmosis water
- Suitably filtered water
Use room-temperature water rather than very cold water. Periodically allow plenty of water to run through the soil to help flush out accumulated fertilizer salts. Let the pot drain completely afterward.
A common beginner mistake is giving the plant small amounts of water frequently. This moistens the surface while leaving part of the root ball dry. A complete watering followed by proper drainage produces more even moisture.
Maintain Higher Humidity Without Creating Soggy Soil
Rattlesnake plant humidity should ideally remain around 50 to 60 percent or higher. Dry indoor air is especially problematic near heaters, radiators, air conditioners, and frequently opened doors.
A digital hygrometer provides a more reliable measurement than guessing based on how the room feels. If humidity is consistently low, a room humidifier is usually the most effective solution.
You can also group tropical plants together to create a slightly more humid microclimate. A pebble tray may provide a small local benefit, but it rarely raises the humidity of an entire room.
Misting offers only a short-lived increase in moisture and should not be treated as the main solution. Constantly wet leaves combined with limited airflow may encourage spotting. If you mist, do it lightly in the morning and allow the foliage to dry.
Keep the plant between 65°F and 80°F. Avoid temperatures below approximately 60°F and protect it from cold drafts or sudden changes.
Use an Airy, Moisture-Retentive Soil Mix
The best rattlesnake plant soil must balance moisture retention with drainage. Dense soil remains wet for too long, while a very coarse mix may dry too quickly.
A practical homemade mix is:
- Two parts quality indoor potting mix or coco coir
- One part perlite or pumice
- One part fine orchid bark
- A small amount of worm castings, if available
The pot must have drainage holes. Decorative containers without drainage can trap water around the roots, even when the soil surface appears normal.
When repotting, choose a container only 1 to 2 inches wider than the existing root ball. An oversized pot holds extra wet soil and increases the risk of root rot.
Repot in spring or early summer when active growth helps the plant recover. Rattlesnake plants may temporarily droop or curl after repotting, so avoid changing their location and watering routine at the same time.
Image Suggestion: Side-by-side photograph of dense, waterlogged soil and a loose rattlesnake plant potting mixture containing bark and perlite.
Fertilize Lightly During Active Growth
Feed the plant every four to six weeks during spring and summer with a balanced liquid houseplant fertilizer diluted to half the label strength.
More fertilizer does not create faster growth. Excess nutrients can accumulate in the potting mix and damage sensitive roots, causing brown tips or leaf edges.
Reduce or stop feeding during fall and winter if growth slows. Do not fertilize a dry, severely stressed, recently repotted, or root-damaged plant. Correct its growing conditions first.
Troubleshooting Common Rattlesnake Plant Problems
The same symptom can have several causes, so examine the soil, roots, light, and recent care changes before choosing a solution.
| Symptom | Likely causes | What to do |
| Brown, crispy tips | Dry air, inconsistent watering, poor water quality, fertilizer salts | Stabilize watering, raise humidity and try low-mineral water |
| Curling leaves | Dry soil, low humidity, heat, cold drafts or excessive light | Check soil first, then examine temperature and light |
| Yellow leaves | Overwatering, poor drainage, natural aging or root damage | Let the mix partly dry and inspect drainage |
| Faded markings | Too much direct sun or insufficient usable light | Provide brighter filtered light |
| Drooping plant | Thirst, waterlogged roots, temperature shock or repotting stress | Check the soil before adding water |
| Spotted leaves | Wet foliage, pests, sunburn or possible disease | Inspect closely and improve airflow |
| Sticky foliage | Scale insects or other sap-feeding pests | Isolate and treat the plant |
Why Does My Rattlesnake Plant Have Brown Tips?
Rattlesnake plant brown tips are usually a sign of ongoing environmental stress rather than a single missed watering.
Start by checking moisture consistency. If the soil repeatedly becomes bone dry and is then heavily soaked, the roots experience a cycle of stress. Next, measure humidity and consider your water quality. Fertilizer buildup is another possibility, especially if the plant has been fed frequently.
Brown tissue will not become green again. You can trim it with clean scissors, following the natural shape of the leaf. Leave a very thin brown margin rather than cutting into healthy tissue.
Why Are the Leaves Curling?
Rattlesnake plant leaves curling inward can help the plant reduce moisture loss. Dry soil is a common cause, but it is not the only one.
If the soil is moist, do not add more water automatically. Check for intense sunlight, low humidity, cold drafts, heat from a vent, root damage, or spider mites. Nighttime leaf movement is normal, but leaves that remain tightly curled throughout the day indicate stress.
What Do Yellow Leaves Mean?
One older yellow leaf may simply be reaching the end of its natural life. Several yellow leaves appearing together deserve investigation.
Wet soil, a sour smell, soft stems, and yellowing suggest excessive moisture or root rot. Slide the root ball out carefully. Healthy roots are firm and light-colored, while rotten roots are dark, soft, and unpleasant-smelling.
Remove damaged roots with sterilized scissors and repot the plant in fresh, airy soil. Improve drainage and wait until the upper layer begins drying before watering again.
Watch for Spider Mites and Other Pests
Spider mites are among the most common rattlesnake plant pests. Early signs include fine webbing, pale speckles, or dusty-looking leaf undersides.
Inspect both sides of the leaves every week, particularly during dry weather. Isolate an affected plant, rinse the foliage, and apply an insecticidal soap or horticultural treatment labeled for indoor plants. Repeat treatments according to the product instructions because a single application may not control newly hatched pests.
Mealybugs, scale insects, and fungus gnats may also appear. Fungus gnats often indicate that the upper soil remains wet for extended periods.
Wipe broad leaves occasionally with a soft damp cloth. Removing dust improves their appearance and makes pests easier to detect.
How to Propagate a Rattlesnake Plant
If you are learning how to propagate a rattlesnake plant, division is the most reliable method. Individual leaf cuttings do not normally develop into complete plants because they lack the required rhizome and growth points.
- Water the plant lightly the day before division.
- Remove it carefully from its pot.
- Locate natural clumps with their own roots and shoots.
- Separate them gently or cut through the connecting rhizome with a sterile knife.
- Pot each division in a small container with fresh, well-draining soil.
- Keep the divisions warm, humid, and in indirect light.
- Maintain light moisture while avoiding fertilizer until new growth appears.
Divide only a healthy, established plant. Very small divisions recover slowly and are more vulnerable to watering mistakes.
Image Suggestion: Step-by-step illustration showing the root ball divided into two rooted rattlesnake plant clumps.
A Simple Weekly Care Routine
For easier rattlesnake plant care indoors, use this quick routine:
- Check the top inch of soil two or three times a week.
- Empty standing water from the saucer.
- Inspect leaf undersides for pests.
- Confirm the plant is not receiving direct afternoon sun.
- Measure humidity during heating or air-conditioning seasons.
- Rotate the pot by a quarter turn every two weeks.
- Remove dust monthly with a soft damp cloth.
This routine is more effective than reacting only after several leaves become damaged.
Frequently Asked Questions
Is a rattlesnake plant difficult to care for?
It requires more consistency than drought-tolerant houseplants, but it is manageable once light, moisture, water quality, and humidity are stable.
How often should I water a rattlesnake plant?
Water when the top inch of soil begins to feel dry. This may be approximately weekly in active growth, but soil condition should determine timing.
Can a rattlesnake plant grow in low light?
It can tolerate moderate light, but very low light leads to slower growth and weaker coloration. Bright, filtered light produces better results.
Should I mist my rattlesnake plant?
Occasional misting is acceptable, but it does not replace consistent room humidity. A humidifier provides a more meaningful and measurable improvement.
Is the rattlesnake plant toxic to cats and dogs?
Rattlesnake plants are generally considered non-toxic to cats and dogs. However, chewing any plant material may still cause mild digestive discomfort, so discourage pets from eating it.
Should I cut brown leaves off?
Fully damaged leaves can be removed at the base using clean scissors. If only the tips are brown, trim the damaged areas while preserving healthy tissue.
Why does my rattlesnake plant move at night?
Its leaves naturally rise and lower in response to changes in light. This prayer-like movement is normal and usually indicates the plant is responding to its daily light cycle.
Can I place it in a bathroom?
A bright bathroom with indirect natural light can be an excellent location because humidity is often higher. A dark bathroom without a window will require a grow light.
Conclusion
Successful rattlesnake plant care depends less on constant attention and more on a stable environment. Give the plant bright indirect light, evenly moist but airy soil, low-mineral water, warm temperatures, and adequate humidity.
When problems appear, check the soil before reaching for the watering can. Brown tips, curling leaves, and yellowing are signals that help identify inconsistencies. Correct the underlying cause, keep the conditions steady, and allow new growth to show whether the solution is working.